People and Portrait Photography
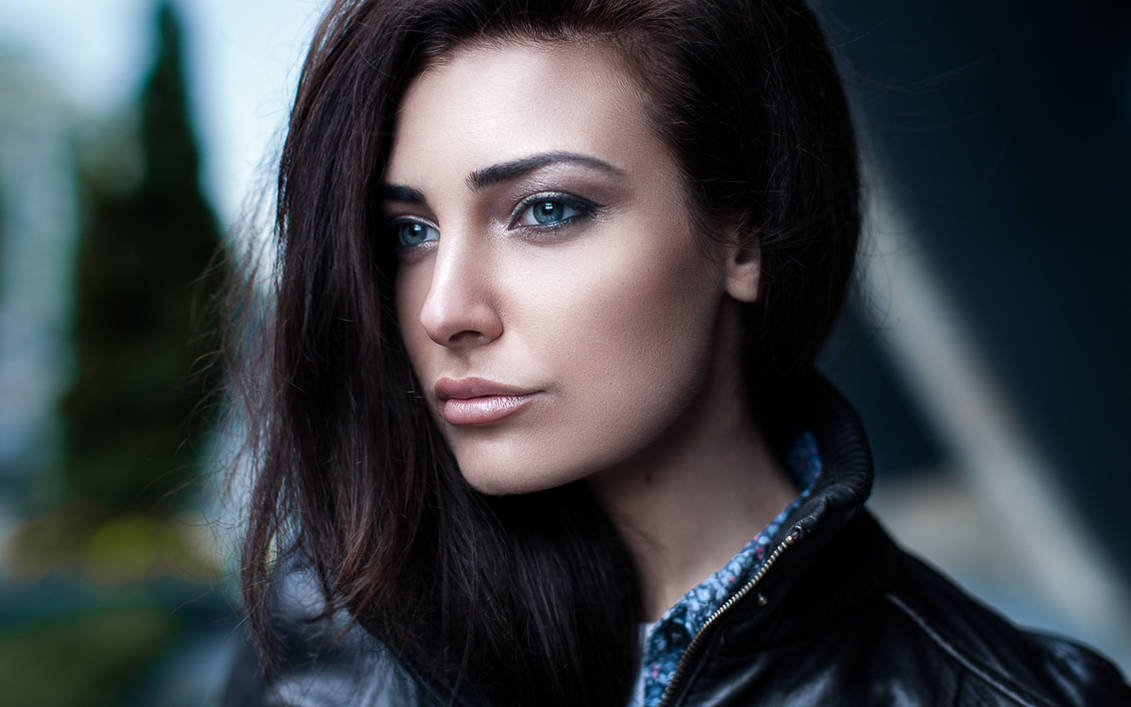
Thanks to JenFruzz for bringing up this topic to be covered this week! You quite often see gorgeous photographs here on deviantART where the subject appears to be 'glowing.' The skin tones look lovely, the lighting is perfect - but how do they achieve such effects? A lot of the time it depends upon the image and the photographer and what their post-processing procedure is. Sometimes you can achieve that 'Late afternoon glow' with Photoshop and in particular, actions. Here are some other things you can to do for optimal results...
Shoot in RAW
D-SLR's allow this and it's worth it, trust me. Particularly if you're shooting at events or Weddings. RAW files let you do so much more afterwards when you're processing your images with Photoshop or Lightroom e.t.c. If your camera shoots in RAW, there's really no excuse not to be using that function. Most cameras shoot in both RAW and JPEG formats now. Storage space is becoming cheaper - therefore there's plenty of reason why you should photograph in RAW! In terms of skin tone, RAW allows you to adjust the temperature and white balance of a person when editing and RAW files create a lot more data than that contained in a simple JPEG file.
Check out your White Balance
Your White Balance is important if you want to achieve a certain tone within your image. You can post-process as described above if it doesn't work out, but if you're keen on getting 'the image' straight away without too much fiddling afterwards then pay attention to white balance. This article by Earthymoon talks about White Balance in more detail.
Choose your background
Always always go for the better light if you can. But pay attention to the type of light that you are working with. If the light is harsh (overhead lights, harsh sunlight e.t.c) you may need a reflector to help balance things out. However you can use the objects and structures around you to get some optimal results as well. Look at where the sunlight is bouncing off of a building (if you're outside) and use the diffused light to place your model(s). To test the diffusion of light, use your hand. The palm of your hand can often tell you how someone's skin tone will look in the light that you are using. You don't want anything extra red or orange.
Check your exposure
Exposure is important. Again, shooting in RAW can allow you to make basic lighting mistakes, but don't rely on it as your safety net! Using your cameras histogram is one of the best ways of ensuring that your settings are optimal. It allows you to understand the types of light around your image and guides you to create proper exposure. It can show you how much of an image is made up of darkness and how much is made up of light plus all the levels in the middle. Check out This article for more information on using a histogram.
Finally, check out this book. (It costs money!) But if you can borrow it from somewhere or read some online samples it will already give you some fantastic insight. It talks about how to create and capture luminous portrait photographs.


